Contents
Rear Brake Shoes
Introduction
This is a job that I have become familiar with as mine eats brake shoes when off-roading. I have recently got as few as 250 miles out of a set and when I had the SJ I managed 29 miles between changes! This is a straight-forward job but a number of people have asked for a guide, so here it is.
So what are the symptoms of worn brake shoes:
- handbrake doesn't work
- Grating/Grinding as you brake
- Poor braking
- Lots of travel in the brake pedal
Changing the Shoes
Tools
Brake shoes
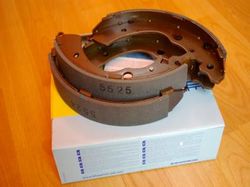
You will need suitable shoes for your car. The BigJimny store sells suitable shoes.
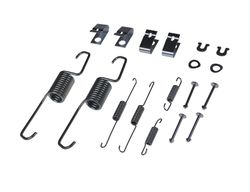
If your drums are particularly old and rusty you may want to consider replacing the brake mounting hardware, see suitable shoes
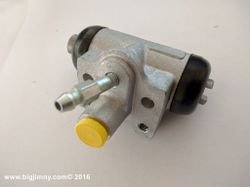
Although not discussed in this article (why not add it yourself, you can edit this article) the process here covers most of the actions needed to replace the rear brake cylinders if they are damaged or leaking. Again these are available in the store, Rear Brake Cylinder.
Changing the shoes
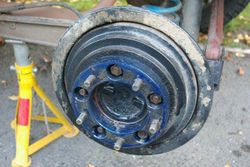
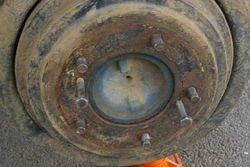
First of all secure the car, release the wheel nuts and jack up the car and remove the road wheel. This then reveals the brake drum, this has a spacer fitted to it. With all the wheel bolts removed AND THE HANDBRAKE OFF the drum can be pulled forward and off the hub.
If the drum is stuck then first of all check that the handbrake is off then insert two small bolts (M8) in the holes in the face of the drum. Reach around the back and feel near the top for a rubber bung. Remove the rubber bung and insert a flat bladed screwdriver. Angle the screwdriver so that the blade is pointing to the back of the car and the handle towards the front, you should be able to feel the adjuster wheel. Using the screwdriver turn the adjuster downwards a few clicks. Then gradually tighten the bolts you inserted in the front, the drum should come off. Do this gradually, tapping the drum as you do it. You should hear the springs/shoes relax and release as you do it. If you do it too quickly you will damage the springs.
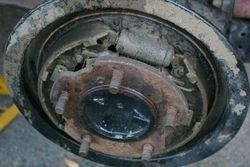
With the drum removed the brake shoes can be seen (covered in mud in this case!). Take a really good look at how it comes apart and the position of all the springs and the handbrake adjuster arm as you will need to put it back together correctly later.
Removing the shoes
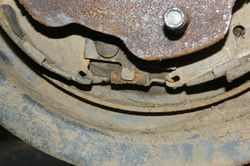
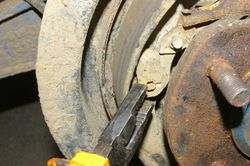
Use a small pair of pliers and remove the small spring that connects across the base of the brake shoes.
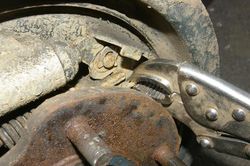
Use a pair of molegrips to remove the strong spring that joins the top of the shoes with the adjuster. Make a careful note of how the adjuster is fitted, the rod has a forked end and on part of the fork has a step in it. Make careful note of how this fork is fitted.
Use a pair of pliers and twist the end of the shoe retaining pin until the spring clip it released
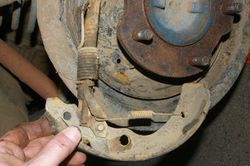
Now the shoes will lift away. Take care not to loose the little adjuster arm and its small spring.
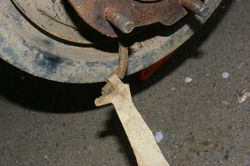
Release the end of the handbrake cable from the arm on the shoe.
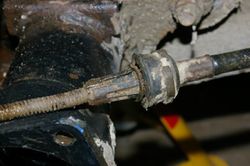
The handbrake cable is held into the brake backing plate by an expanding spring clip around the cable. The clip needs to be squeezed so the cable can be pulled out complete with the clip. This is not easy to do but will come out with persistence.
NO PICTURE.
You then need to remove the brake pipes from the cylinder. Undo the pipes and catch the drips of brake fluid. There is one pipe if you are doing the passenger side and two pipes if you are doing the drivers side.
Removing the Hub
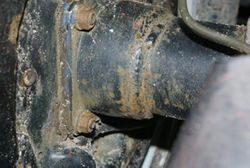
The hub is retained by four bolts on the rear.
PICTURE REQUIRED
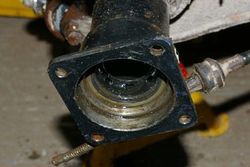
The hub can now be removed. The unit is a friction fit into the axle casing. Attach a slide hammer to the hub and pull it out by using the slide hammer action. Alternatively refit the wheel or old wheel or brake drum (backwards) and hit the hub from behind to drive it off.
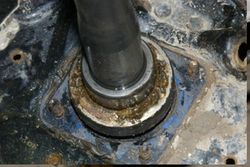
With the hub pulled you can then see the oil seal and oil splash protector in the axle. Hook the old seal out, clean up the axle and push the new seal supplied with the kit into place.
Removing the Bearing
The old bearing is held in place by a retainer ring which needs cutting off.
The best way seems to be to cut it away with an angle grinder. I do not know of anyone who has removed it in a different way.
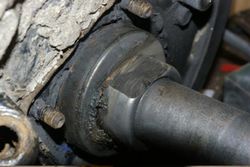
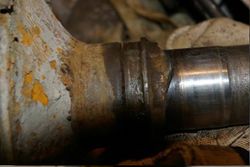
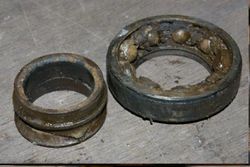
With the retainer cut away you should be able to remove the remains of the bearing. As you can see in the picture, my bearing had collapsed and left the inner race on the axle .
The damage to mine is clear!
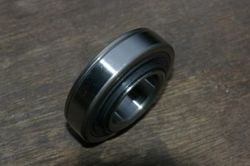
This is what a new bearing should look like. Note that it has a built in "spacer" on one edge, this should be to the OUTSIDE of the hub/wheel.
New bearing kits are available in the BigJimny store. There is also a special kit for ABS equipped cars
Re-assembly
This section needs completing but essentially it is a reverse procedure of above.

