Contents
Fitting a Cabin/Pollen Filter
Introduction
It appears that most people do not realize that the Jimny has a pollen filter, or at least has the facility for a pollen filter.
Most manuals never refer to it, even in the Service Guide.
A lot of people, particularly those who drive off-road, are tired of the clouds of leaves that hit you in the face when you open the fascia vents. Fitting a pollen filter is straight forward once you know where it is hidden.
If your Jimny already has a cabin filter installed (but you have not been aware of it), the filter is probably heavily clogged.
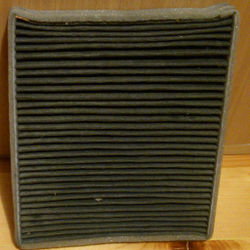
Below is an example of a cabin filter which has not been changed for at least five years:
Note: The above picture was taken after the leaves and grit were cleaned off from the filter. The weight of that dirty filter was around 800 grams!
The filter itself
So, first you need a pollen filter [See the BigJimny Shop Filter )
Note: The appearance and construction of a cabin filter may vary slightly from one manufacturer to another. Some filters are two-part, some are glued or taped two-part (like the one in the above picture), and some are one-part. Always make sure to check the dimensions.
The quality of a filter may vary significantly from one manufacturer to another. The main difference is in the presence or absence of various filtering elements which filter out certain things. For example, a filter with or without carbon particles.
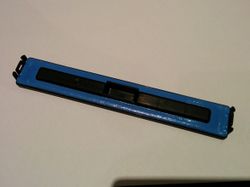
Filter cover
Note: It is common to break the filter cover when removing it as the plastic becomes brittle. You may wish to consider buying a spare cover at the same time (See the BigJimny Shop Cover )
Changing/Installing a Filter
Tools
Installation
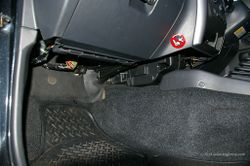
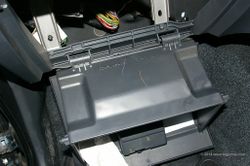
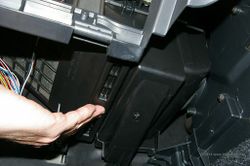
Here is the filter cover, up underneath the dashboard on the passenger side of the vehicle
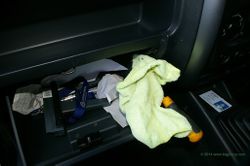
First remove the glovebox, this is done by flexing the sidewalls so the plastic retaining lugs can drop past the edge of the fascia. Lower the whole glovebox away. I am using a screwdriver with the end protected by a cloth to stop it marking the fascia as I use it to prise away the retaining lugs.
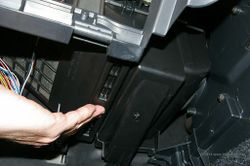
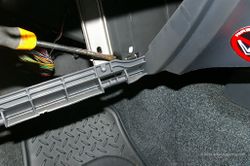
The filter cover is retained by smll clips on the end. The tip of the scewdriver points to where the clip is (hidden).
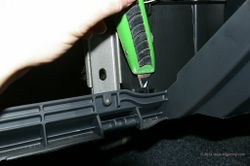
Warm the plastic filter cover, either use a hairdrier or allow the cars own heater to warm the car (on re-circulate setting). If the plastic is cold it is more likely to fracture. Insert a small blade into the filter retaining lugs and gently prise it away from the edge of the moulded catches on the heater body. Do this a bit at a time alternating front and back.
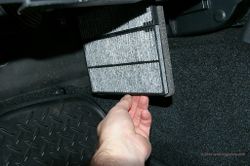
If you have a UK Jimny, you are more than likely to find an empty hole now (full of bits of leaf). Simply insert the cabin filter.
Gently press the filter cover back into place.
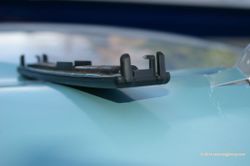
P.S DON’T THINK YOU WILL BE IMMUNE TO BREAKING THE FILTER COVER – HERE IS MINE!
Page last edited on 23/01/2017 by user Bosanek

